Getting Started with openFrameworks
NOTE: This lesson is based on openFrameworks 007 and is now outdated. Please stay tuned for an updated lesson.
This chapter will help you get started with the basics of openFrameworks, such as the proper method for creating a project, setting window size, and basic drawing.
Your First Look inside oF
By this point, I assume that you’ve downloaded openFrameworks and followed the appropriate setup guide. So the first thing you’ll want to do is uncompress the openFrameworks archive and place the resulting folder somewhere you can easily access. Personally, I like to drop it in my Documents folder and then put a shortcut in my sidebar, like this:
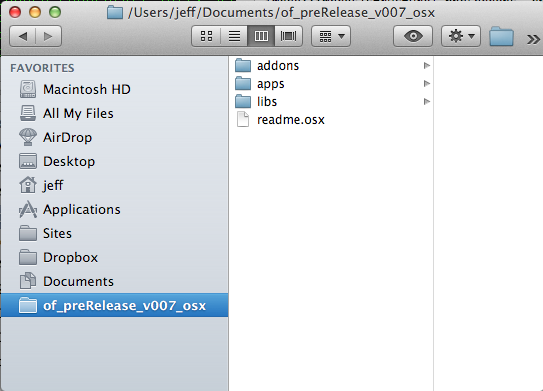
No matter where you put it, when you open up the folder, you should see a set of folders that looks basically like this:
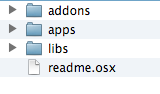
So what are these folders?
- addons
The “core” openFrameworks contains only the most essential functionality. Everything in the addons folder can be added to an application piecemeal. This includes stuff like reading an XML file, loading a 3D model, or using the computer vision library, openCV.
- apps
This is where the applications that you make will be stored, and where you will be working most of the time. You will notice that there is already 1 folder in it called “myApps”
- examples
This is where you can find examples of most of the functionality that openFrameworks provides.
- libs
This folder contains all the libraries that openFramworks uses as well as the oF core.
Take a Tour of the Examples
Inside the “examples” folder, you will find sub-folders that correspond to categories. These folders contain openFrameworks projects that illustrate some of the things that openFrameworks can do. Before you get into making your own app, it’s a good idea to take a tour of all of the example applications. The process is slightly different depending on which IDE you are using.
XCode
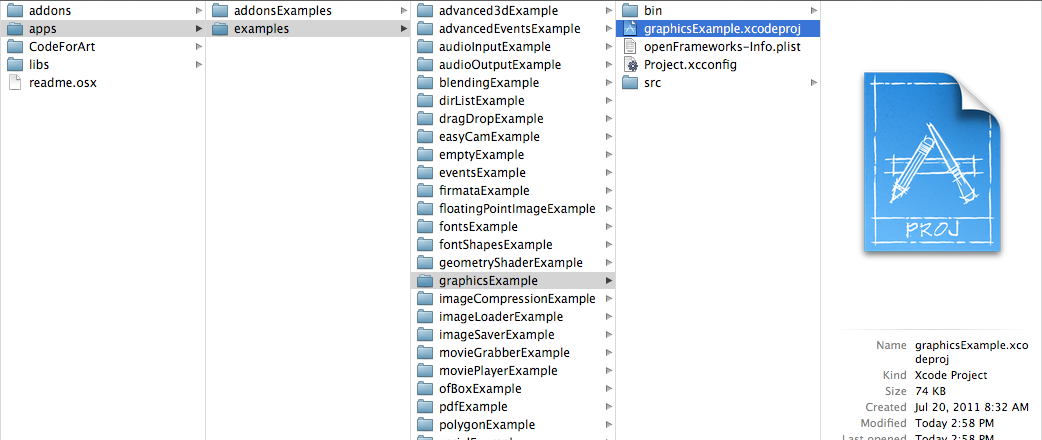
Navigate to examples/graphics/graphicsExample and double-click on “graphicsExample.xcodeproj”.
You should see a window that looks something like this:

IMPORTANT: Find out which version you are using in the menubar: XCode > About XCode. If you are using XCode < 4.0 the window will look significantly different, but don’t panic – it should be fairly easy to find the corresponding interface features.
You’ll notice a big “Run” button at the top left side of the screen. In XCode 3, it is called “Build & Run”. That will run the currently active target. But you might find that, by default, the active target is the openFrameworks library, which, by itself, doesn’t do anything. What we want to run is “graphicsExample” program. So if you see this:
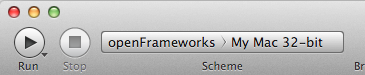
Click and drag down so that it looks like this:
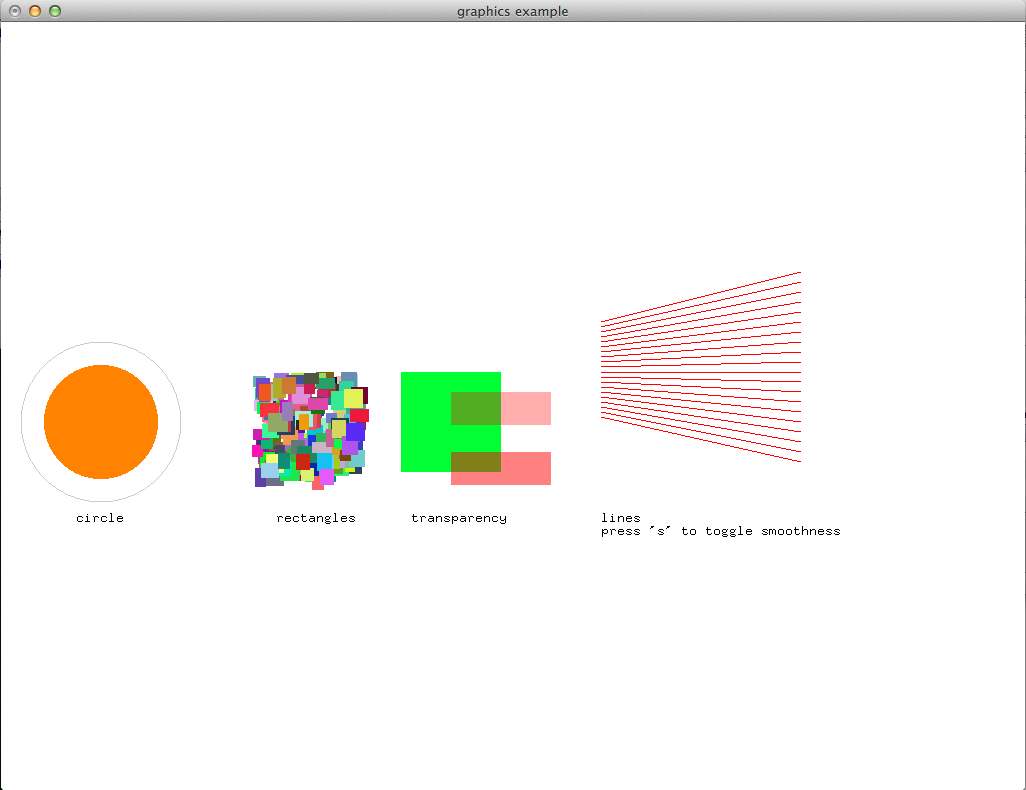
Now click “Run!” You should see this:
Press escape or Apple+Q to exit out of the program.
Troubleshooting compilation
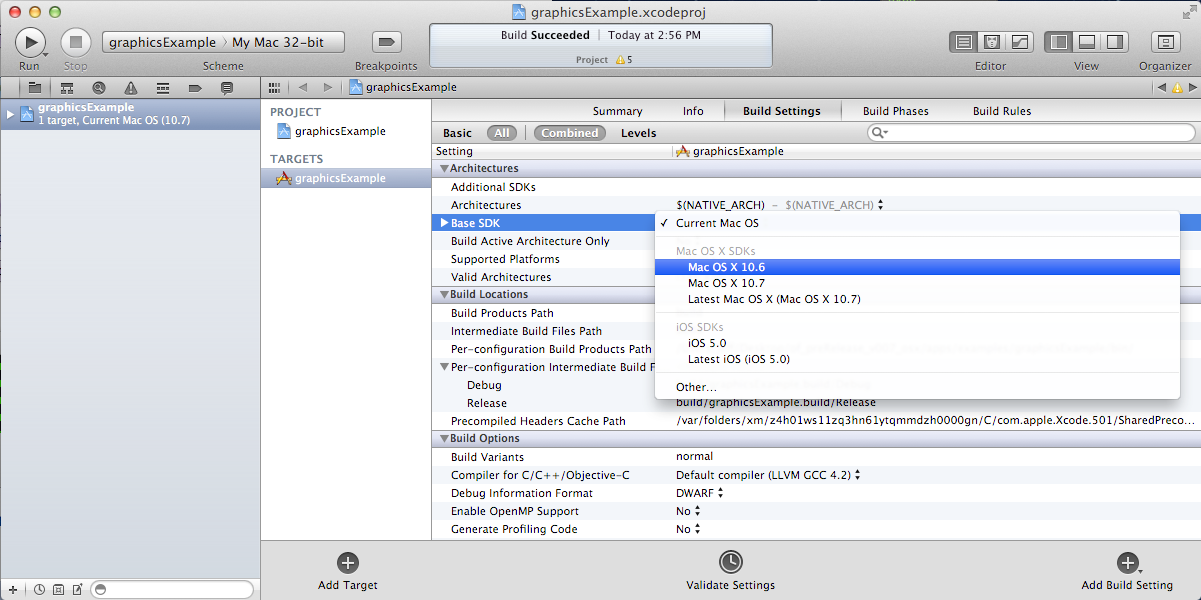
If you are getting errors, try switching the “Base SDK” setting to 10.6
- Click on the “graphicsExample” in the section on the far left
- Click on “Build Settings” as shown below
- Make sure the “All” and “Combined” ovals are selected as shown below
- Next to Base SDK, click and drag to “10.6”
It’s possible that you will have to do this for every project, so you might as well get used to it :)
Now you should open and run all of the other examples.
Code::Blocks
coming soon!
Visual Studio
coming soon!
Creating Your First Project
As mentioned in the introduction, openFrameworks takes care of most of the tedious work of setting up a c++ project in your IDE of choice. However, unlike programs like Flash or Processing, there is no “File > New” that allows you to create a project. Instead, the preferred method is to duplicate one of the example projects.
IMPORTANT: By extension, this means that you should never edit any of the example projects or put your own apps into the examples folders. They are placed there to provide starting points for your own apps, but you’ll want to keep them pristene so that you always have a working starting point for your projects. You’ll see the importance of this more as you move forward.
As simple as this seems, this can be a huge stumbling block for a lot of beginners, so first lets agree on some terminology.
When you open your apps folder, you see 2 folders: examples and addonsExamples. Let’s call these folders workspaces.
If you open one of those workspaces, you see more folders, like easyCamExample, floatingPointImageExample, movieGrabberExample, and serialExample. Each one of those folders is a project. Each contains (among other things) an “.xcodeproj” file and a “src” folder. A project must be inside a workspace and can be compiled into a single application.

We want to create a project, but every project has to live inside a workspace, and we’re not supposed to put anything into the examples and addonsExamples workspaces, so our first step is going to be to make a new workspace by simply creating a folder called “MyFirstWorkspace” in the apps folder. You will probably end up making many workspaces while using openFrameworks. You can use them however you want, but the important thing is that they are directly inside the “apps” folder, ie: you can’t have a workspace inside another workspace.

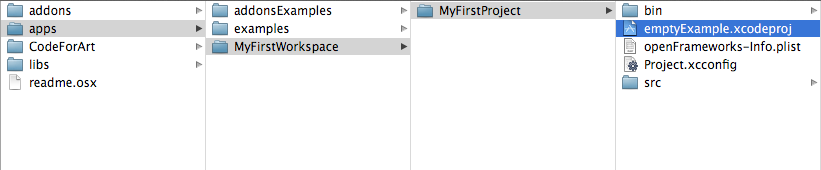
Next we will #copy# (NOT move) the entire “emptyExample” folder from the “examples” workspace and paste it into “MyFirstWorkspace”. On a mac, you can literally click on the emptyExample folder, press apple+C, then navigate to the “MyFirstWorkspace” folder and press apple+V. So the result should look like this:

Next, we can rename the duplicate project folder from “emptyExample” to “MyFirstProject”.
The super important thing here is that your XCode Project file is exactly 3 folders “below” the Root Folder (refer to colorful diagram above). So, whenever you make a new project, or if you are suddenly getting thousands of errors for no apparent reason, you should always double check that your XCode Project file is in the correct place.
The reason for this has to do with the ‘lib’ folder. We previously mentioned that openFrameworks is a “glue” for a bunch of different libraries, and these libraries are located in the ‘lib’ directory. We also discovered that it is the the job of the IDE know how to find and link together the various libraries. So, when the IDE tries to compile your program, it is set up to look for libraries in “../../../lib”, or, in other words: “go back three folders (relative to your .xcodeproj) and then look for a lib directory.” For instance, if you dig deep into the settings of any openFrameworks project, you will find paths like “../../../libs/FreeImage/include” and “../../../libs/poco/include”. So, as long as your .xcodeproj file is within of_preRelease_v007_osx/apps/workspace/project, everything will compile. If not, things will get ugly.
Okay! Now you have created your first very own openFrameworks project. Double click on the XCode Project file in your new “MyFirstProject” and make sure “emptyExample” is selected as the target and click “Run” and you should see:

Nothing! But that’s exactly what you should see. Well, it’s not too exciting yet, but you are well on your way.
Press escape or Apple+Q to exit out of the program.
###Renaming your Project in XCode
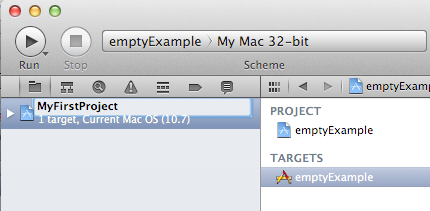
You might be tempted to also rename “emptyExample.xcodeproj” to “MyFirstProject.xcodeproj”, and if you are using XCode < 4, you can. But as of XCode 4, this seems to cause some problems. So, instead, open up your project in XCode and click on the “emptyExample” title in the upper left as shown here:
After you rename it, you will get a dialog box asking you if you’d like to rename a bunch of other stuff. Click “Rename”
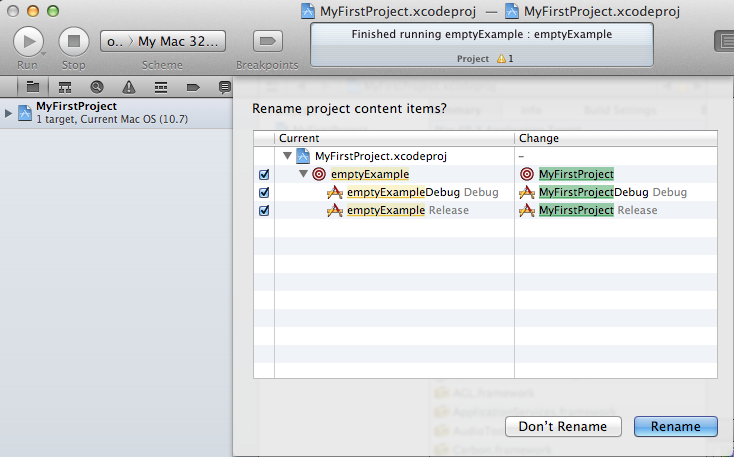
voila!
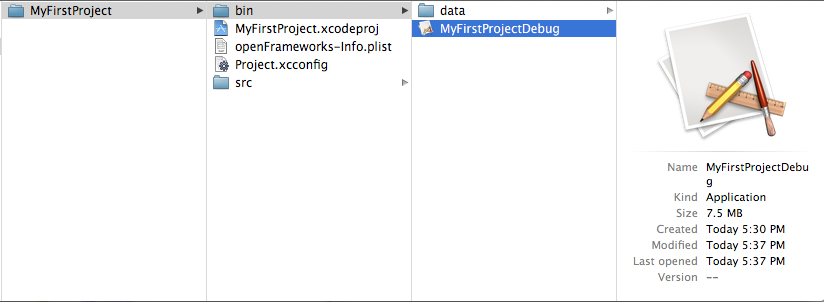
When you click “Run” from within XCode, what actually happens behind the scenes is that your code is compiled into an executable and placed within the “bin” directory. Then that application is run just as if you had double clicked it. So, if you look in “MyFirstWorkspace/MyFirstApplication/bin” folder, you should see an application icon. This is your application! If you double-click on it, you will see the same gray window. Now you can send this application to all of your friends (who use a Mac) and they can launch your wonderful gray window program.
Writing Code
Okay, now that you know how to create a project, it’s time to start writing some code inside it. The next few sections will introduce you to the structure of an openFrameworks application and a few simple drawing and setup functions.
testApp.cpp
So it’s finally time to start looking at some code. The first thing you need to do is open up a project in XCode. I’m going to assume that we are working with “MyFirstProject” inside the workspace “MyFirstWorkspace” from the last section. When you first open it up, take a look in the Navigator View (the panel on the far left of XCode) and click the disclosure triangle like this:
- Click the disclosure triangle next to “MyFirstProject”
- Click the disclosure triangle next to “src”
- Click on testApp.cpp
testApp.cpp is going to become your very good friend over the next few tutorials. In the Editor Window, you should see something that starts like this:
#include "testApp.h"

//--------------------------------------------------------------
void testApp::setup(){

}

//--------------------------------------------------------------
void testApp::update(){

}

//--------------------------------------------------------------
void testApp::draw(){

}

//--------------------------------------------------------------
void testApp::keyPressed(int key){

}
So what is going on here?
In a lot of ways, testApp.cpp is like hello.cpp, the file that we wrote in the Introduction. It’s a plain text file that contains c++ source code. The difference now is that we are editing it through our IDE, so there is some really nice syntax highlighting that will hopefully make it easier to make sense of the code, and it will be a lot easier to compile and run when we want to.
On a very basic level, what you see here is a bunch of empty functions. A function is a set of instructions that make up part of a larger program. Just in the snippet of code above, there are 4 functions: setup, update, draw, and keyPressed. Each of the functions is followed by a set of curly brackets ({}). What usually goes inside of these curly brackets are the instructions (assiging values to variables, loops, and calls to other functions) that make up the functions.
If you refer back to the Q&A “What is a software framework?” in the introduction, the film production company analogy is particularly useful at this point. What you are looking at in testApp.cpp is how openFrameworks has provided all of the infrastructure and logistical details. Now it’s your job to define what happens. You do this by putting code into the fuctions in testApp.cpp
These functions will be called by openFrameworks at different points during the execution of your program. Let’s take a look at a few of them.
- setup
This function is called (ie: any code that you’ve put inside the curly brackets runs) at the very beginning of the life of your application, before your program window opens. So, let’s say, for instance, you wanted to set the size of the window. You probably want this to happen before the window actually opens, so setup would be a good place for that.
- update, draw
After the setup function runs, the update and draw functions begin a loop that continues until your program ends. So, after setup() runs, update() runs, then draw(), then update(), then draw(), etc. and by default, this happens as fast as your computer can handle. update() is typically used for updating the state of your program (ie: changing the value of variables), while draw() is used to actually draw things into your window.
keyPressed, keyReleased, mouseMoved, mouseDragged, mousePressed
Unlike the previous three functions, these functions are called only when a user does something. Can you guess what?
But enough with the reading. Let’s see these things in action.
Making a Mark
We will start by drawing a simple circle in our gray window using the ofCircle function. Type ofCircle(200, 200, 60); on the blank line inside the draw() function so that your draw function looke like this:
void testApp::draw(){
    ofCircle(200, 300, 60);
}
NOTE: Notice the semicolon at the end of the line. All function calls must end with a semicolon. In addition, function names are always case sensitive, so OfSetColor will not work, nor OFsetcolor, etc. only ofSetColor.
Now run your program. You should see something like:

Congratulations! You just made something appear on the screen! It’s all downhill from here.
But what did we just do?
ofCircle is a function that comes with openFrameworks (hence the ‘of’ prefix). You can invoke the ofCircle function inside your draw function as many times as you’d like. The numbers inside of the parenthesis after ‘ofCircle’ are called arguments. They determine exactly what the function does. They answer the questions: “okay, you want to draw a circle, but where? and how big?” Functions can take any number of arguments, always separated by commas, but ofCircle takes 3: an x coordinate, a y coordinate, and a radius. There are a few things you need to know to make sense of these arguments:
- All measurements in openFrameworks are in pixels. By saying that our circle has a radius of 60, that means that it will take up PI x 602 pixels total.
- This may seem obvious, but the coordinates refer to the center of the circle. Other shapes (such as rectangles) use the upper left corner.
- The “origin” of the coordinate system is in the upper left of the window. So, our circle appears 200 pixels from the left side of the screen, and 300 pixels from the top.
NOTE: The order of the arguments is important. The first argument to ofCircle will always mean “x coordinate” and the third will always mean “radius”.
NOTE: There are some functions (such as ofFill, which simply tells oF to fill shapes that are drawn) that have 0 arguments, but you still have to put parenthesis after them.
If you hadn’t just read about it here, you could have found information about ofCircle on the openFrameworks documentation page, which you will be using more as we move on.
Adding some Color
Your circle is great, but kind of boring. What if we want to introduce some color to our application? To do that, we need the the ofSetColor function. Try adding ofSetColor(255, 0, 255); right above the ofCircle line, so that your draw function looks like this:
void testApp::draw(){
	ofSetColor(255, 0, 255);
	ofCircle(200, 300, 60);
}
Now try running your application.
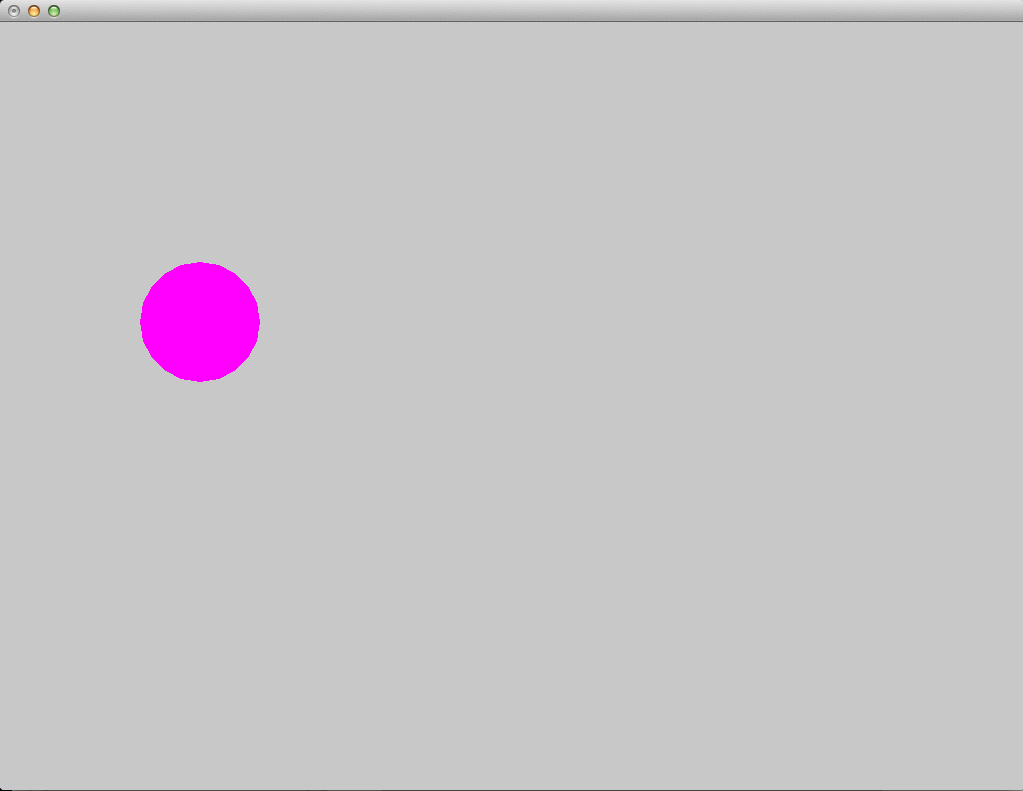
Similar to ofCircle, the ofSetColor function takes 3 arguments, but the numbers have very different meanings. If you look at the documentation for ofSetColor, you’ll notice that they arguments actually represent the red, green, and blue values for the color that you want to use, on a scale of 0-255. So when we typed ofSetColor(255, 0, 255);, we were saying “until further notice, draw everything with 100% red, 0 green, and 100% blue.”
TIP: Try changing the values to get different color variations.
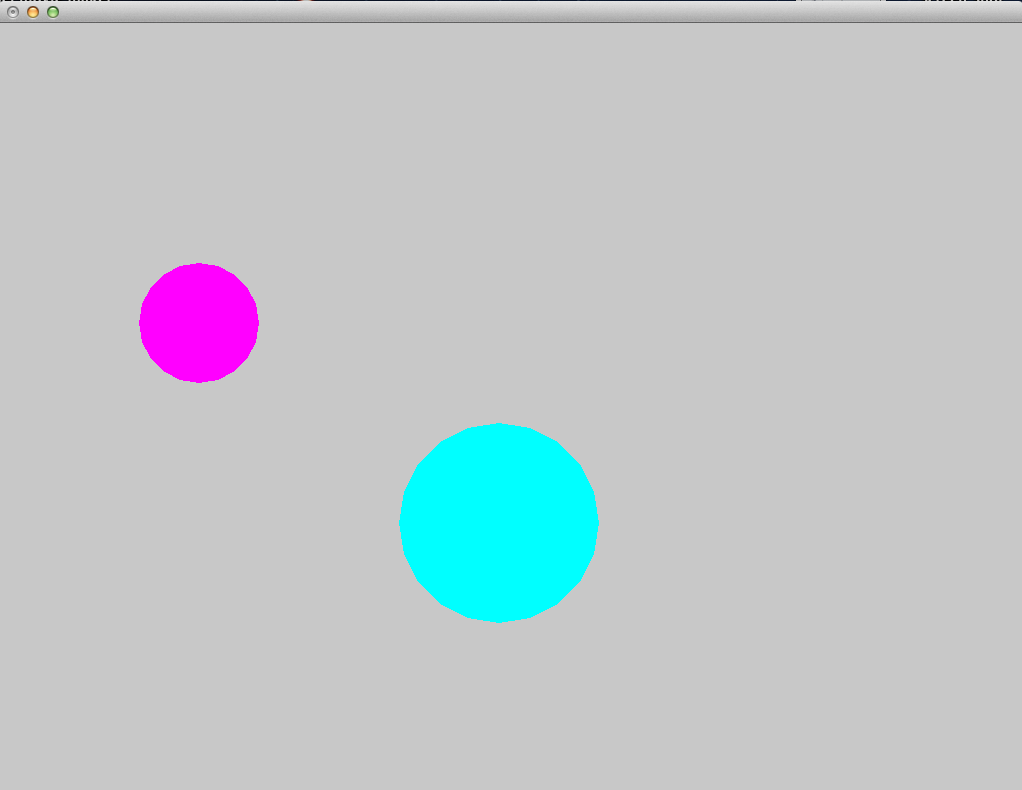
This last point is important: when we call “ofSetColor”, it’s like picking a crayon out of a box. Everything that gets drawn after that (below that line of code) will be drawn in that color until we call ofSetColor again. So if we want to draw another circle on the screen, we could simply call the ofCircle function again:
void testApp::draw(){
	ofSetColor(255, 0, 255);
    ofCircle(200, 300, 60);

    ofCircle(500, 500, 100);
}
But if we wanted that circle to be a different color, we would have to call ofSetColor again:
void testApp::draw(){
	ofSetColor(255, 0, 255);
    ofCircle(200, 300, 60);

    ofSetColor(0, 255, 255);
    ofCircle(500, 500, 100);
}
All The Shapes You Can Handle
Of course, oF can draw more than circles.
- ofRect draws a rectangle. arguments are (x, y, width, height)
- ofTriangle draws a triangle. arguments are the coordinates of the three points: (x1, y1, x2, y2, x3, y3)
- ofLine draws a line. arguments are the start coordinate and the end coordinate (x1, y1, x2, y2)
- ofEllipse arguments are: (x, y, width, height)
- ofCurve Draws a curve from point (x1, y1) to point (x2, y2). The curve is shaped by the two control points (x0,y0) and (x3,y3).
NOTE: Control points can be tricky. If you’ve used the pen tool in photoshop or illustrator, you probably understand them. If not, check out this tutorial. It’s about ActionScript, but it gives a great overiew of the concept of curves and control points.
TIP: Try making 3 different projects in your “MyFirstWorkspace” workspace. In each one, draw a different shape in a different location using a different color.